
If you’re facing the task of removing Caroma basin taps, whether for replacement, repair, or simply to update your bathroom fixtures, the process can be challenging without the right guidance.
At Plus Plumbing, we understand that Caroma taps, known for their durability and sleek design, can require a specific approach to uninstall. This comprehensive guide will walk you through the steps necessary to remove your Caroma basin taps safely and effectively.
Step 1: Preparation and Gathering Tools
Before starting, it’s crucial to have the right tools and a clear workspace. You’ll need:
- Multi-grip pliers
- Flat-head screwdriver
- Adjustable spanner
- WD-40 or another penetrating lubricant (if necessary)
- A clean cloth or towel
- Hacksaw (in case of stubborn fittings)
Having these tools ready ensures you can handle any surprises as you progress.
Step 2: Identifying the Tap Type and Fixing Method
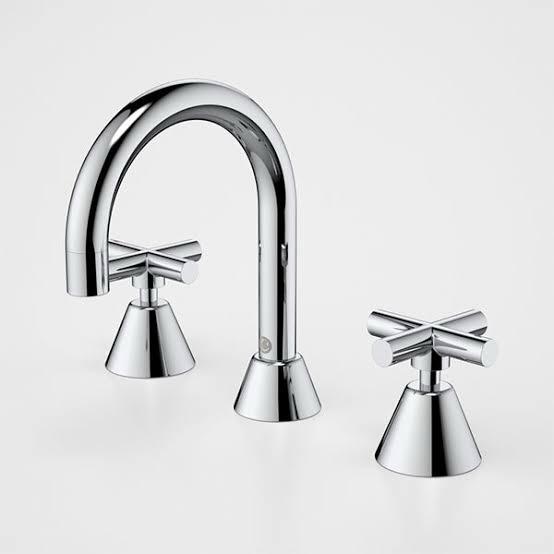
Caroma taps often have different mechanisms holding them in place. One common method includes a cap or sticker that conceals a nut or screw beneath it. Start by checking if your tap head has a cold/hot sticker or cap on top. Remove this sticker gently with a flat-head screwdriver to check underneath for any screw or nut, as this could be securing the tap handle onto the spindle shaft.
In some cases, a small grub screw might be located on the side of the tap handle, pinning it to the spindle. If this is the case, locate and remove the screw using an appropriate tool.
Step 3: Removing the Tap Handle and Skirt
If there is no screw underneath the sticker or no visible grub screw on the side, you may have a press-fit handle. This design means the handles are simply pressed into place and may not easily come off. The next step is to unscrew the tap skirt, which is the collar or shroud covering the connection point between the tap handle and the basin. Use multi-grip pliers to get a firm grip on the skirt, taking care to protect the finish if you’re reusing the tap.
Be mindful that unscrewing the skirt may damage its finish, especially if you’re disposing of the tap. Rotate the skirt counterclockwise until it is fully unscrewed, providing access to the nut holding the tap spindle in place.
Step 4: Loosening the Nut and Removing the Tap
Once you access the nut, use an adjustable spanner to turn it counterclockwise. This will free the tap spindle, allowing the tap assembly to be removed in one piece. If the nut is tight or corroded, apply a penetrating lubricant like WD-40 and allow it to soak in before attempting to loosen the nut again.
In cases where the tap is attached to a spout, you may need to work underneath the basin to access a brass or plastic nut that holds the tap in place. A multi-grip tool or tap spanner set can help you remove this nut, again turning counterclockwise.
Step 5: Handling Stuck or Hard-to-Remove Taps
Sometimes, the tap handle may be glued in place or held tightly by calcium deposits over time, making removal difficult. In these situations, consider using a tap handle puller tool to gently lift the handle from the spindle. The handle puller clamps around the tap handle and applies upward pressure, releasing it from the spindle as you tighten the tool. This method is particularly effective for stubborn taps that won’t budge.
Step 6: Hacksawing as a Last Resort
If all else fails and the tap handle still won’t come off, using a hacksaw to carefully cut the handle may be the last resort. This should be done cautiously to avoid damaging the basin or surrounding fixtures. Make a controlled cut through the tap handle, being prepared to replace the tap assembly completely after removal.
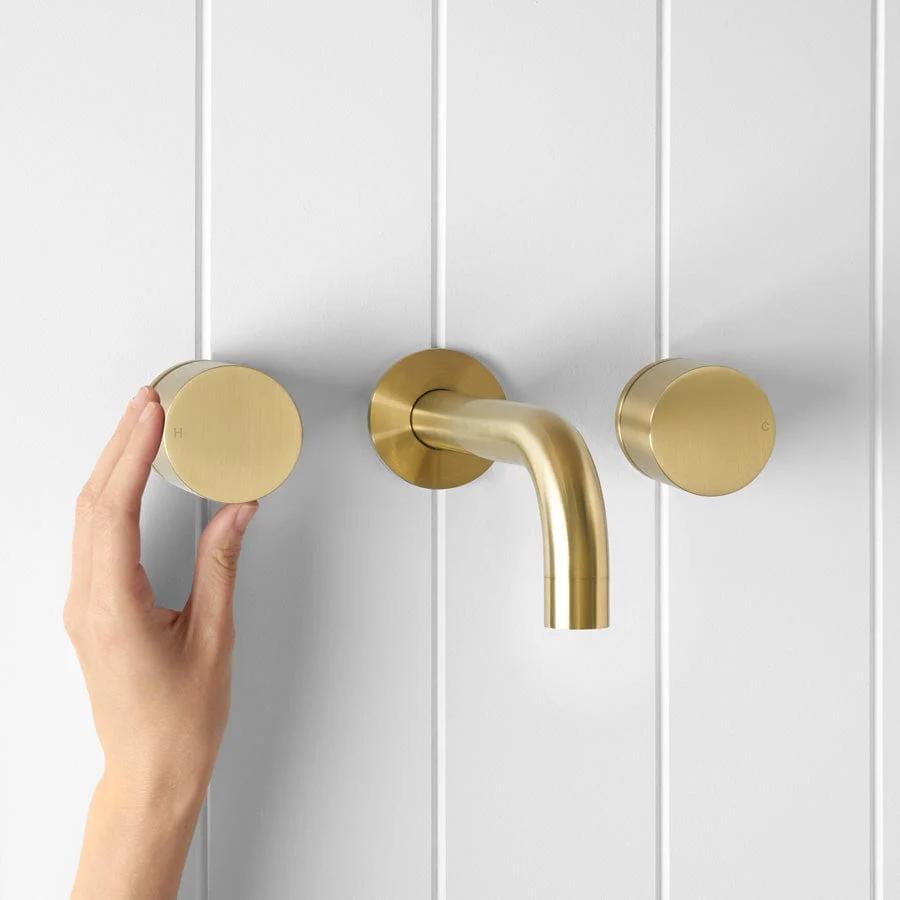
Step 7: Removing the Old Spout (If Present)
If your Caroma basin tap features a spout, the process is similar but may require a bit more effort. After detaching the tap handles and any securing nuts, you’ll need to loosen the spout itself. Again, use multi-grip pliers or a spanner to turn the fitting counterclockwise until it is free. If the spout is rusted or particularly hard to remove, applying a lubricant and gently working the connection loose may help.
Inside Plus Plumbing
We’ve worked on a lot of homes that feature Caroma fixtures, and removing basin taps can sometimes be tricky, especially when they’ve been installed for many years. Recently, we had a job in Baulkham Hills where the taps in the ensuite bathroom had seen better days. The homeowner wanted to upgrade to modern mixers but wasn’t sure how to remove the old Caroma basin taps. When we arrived, we assessed the situation and could see that the taps had been installed with some old, stubborn fittings. After carefully isolating the water and using our specialized tools, we were able to remove the taps without damaging the basin or surrounding tiles. The homeowner was surprised by how quickly we had the new taps installed and loved the fresh look it gave their bathroom. It’s always satisfying to see the transformation, especially when you know the client is going to enjoy their upgraded fixtures for years to come!
Tips for Reinstallation or Replacement

- Clean the Area: After removing the tap and/or spout, clean the surface of the basin to remove any dirt or residue.
- Inspect Connections: Check for any damage to the existing plumbing, and consider replacing worn or corroded washers and fittings.
- Consider Professional Help: If you’re unsure about any step in the process, it may be beneficial to consult a licensed plumber to avoid damage to your basin or fixtures.
Conclusion
Removing Caroma basin taps can be a straightforward process when you know what to expect. By following the steps outlined above and using the correct tools, you can remove your taps safely and efficiently. At Plus Plumbing, we’re here to help with all your plumbing needs, from tap removal to installation of new fixtures. Remember, if you’re ever in doubt, don’t hesitate to seek professional assistance to ensure the job is done right.
Whether you’re upgrading your bathroom or tackling a repair, we hope this guide helps make your project a success!


